Star Ferry Musing #161. Sky the beautiful dog
Written by Robert Wu for his family and friends
To read all previous 160 SFM articles, please access http://www.starferrymusings.com/
If you wish to discontinue receiving SFM articles, please drop me a line.
如您不願意收到這些文章, 請告知.
*********************************************
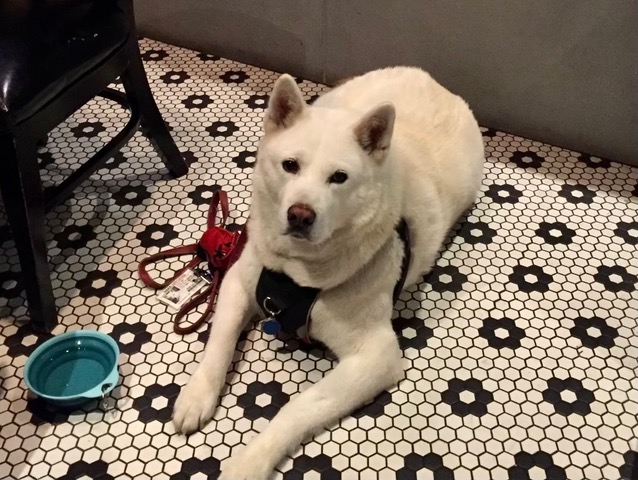
My friend Dee had a very close companion for over 10 years. His name was Sky which was fitting for his snow white fur. Weighing at 100 pounds, Sky was a very good sized dog. Sky was an Akita mix and was a friendliest and best behaved dog. When Dee drove her convertible car, Sky would sit in the back seat and enjoy the fresh air. Dee loved Sky, and I think Sky loved her just as much.

Unfortunately, Sky died recently at the old age of 15 years. Dee was devastated in losing a child, a trusted friend, a loving companion.
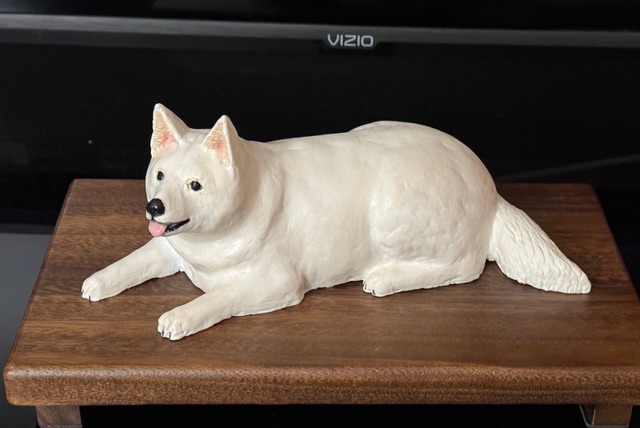
I decided to make a sculpture of Sky for Dee.
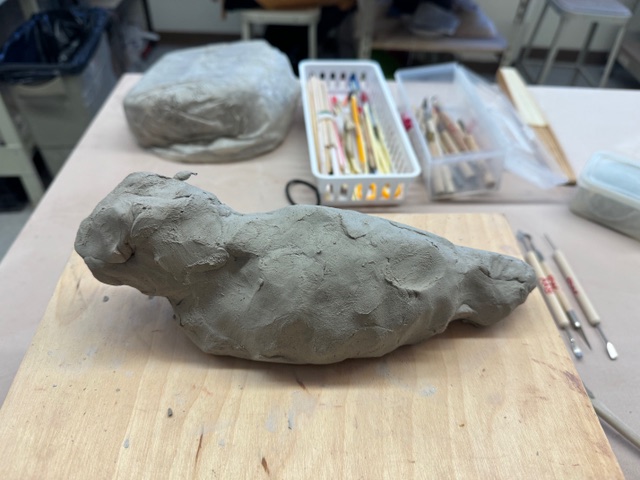
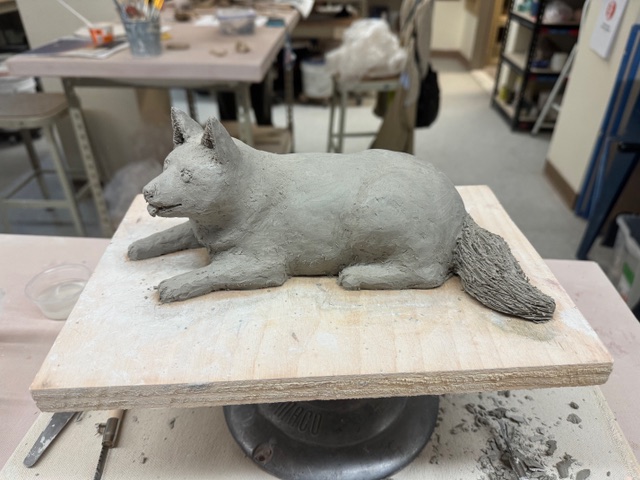
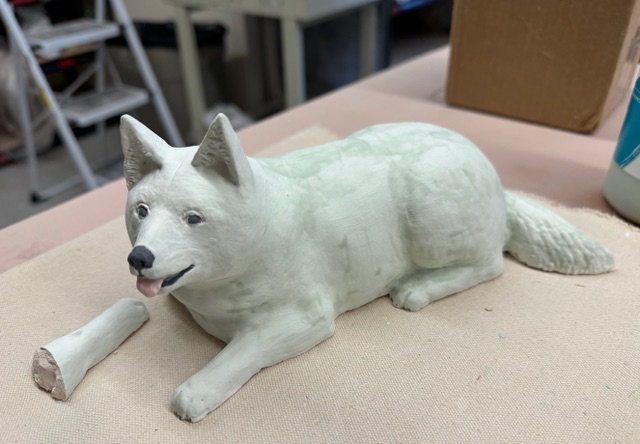
I started with a clump of clay.

A very rough outline was formed.

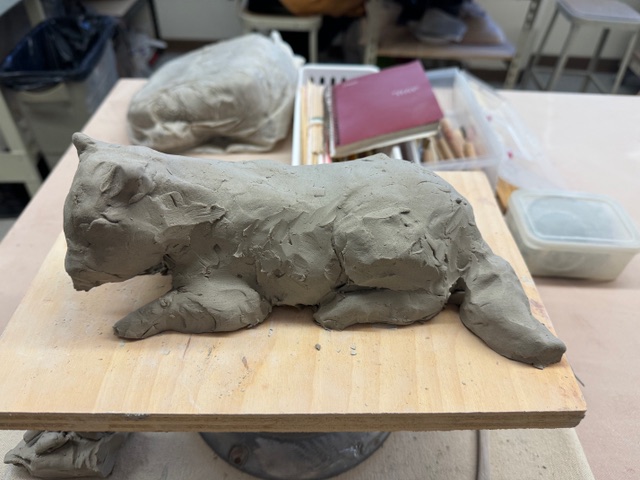
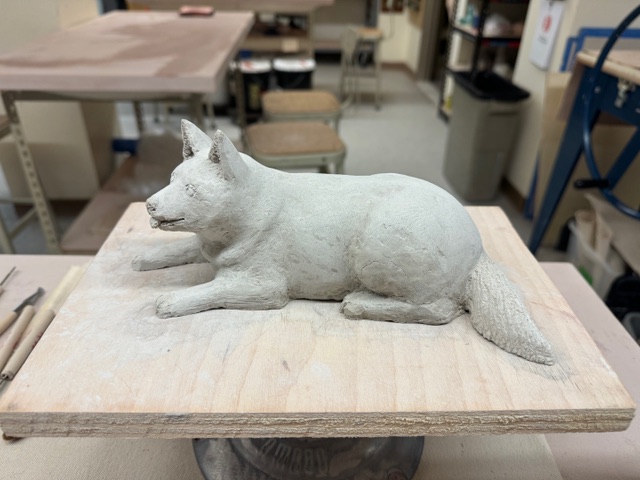
Sky began to emerge from the lump of clay. But I found his head to be dipping too low. Sky looked sad.

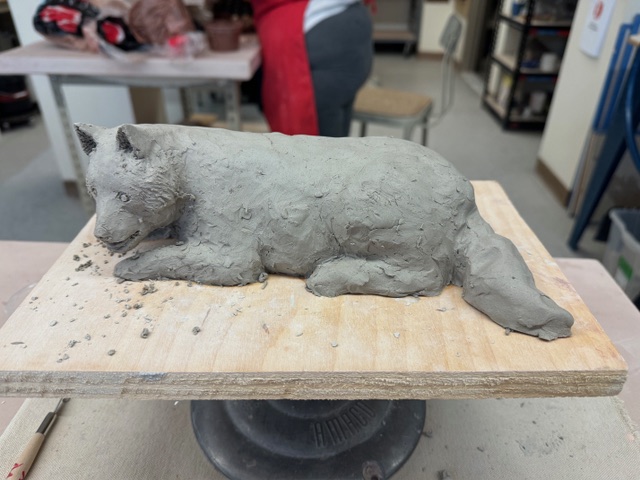
I changed his posture to look up. This was more in line with Dee’s vision of Sky.

But I found the left rear knee of Sky to be lacking. I added some clay to the left rear knee but it was difficult. The sculpture was beginning to dry and the new wet clay had trouble adhering to the semi-dry body. I tried my best and hoped the new clay would adhere to the body.

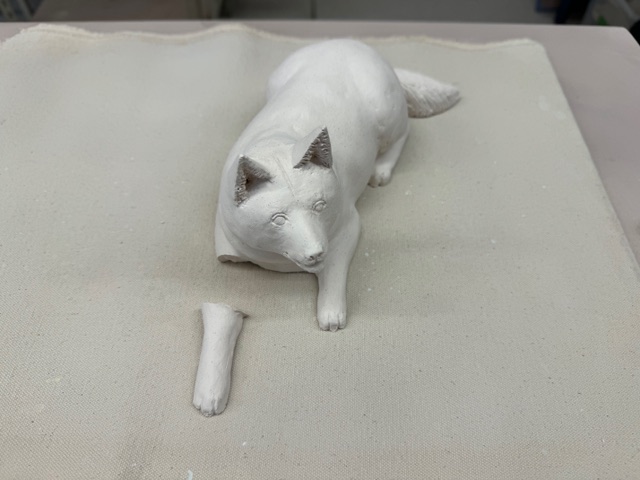
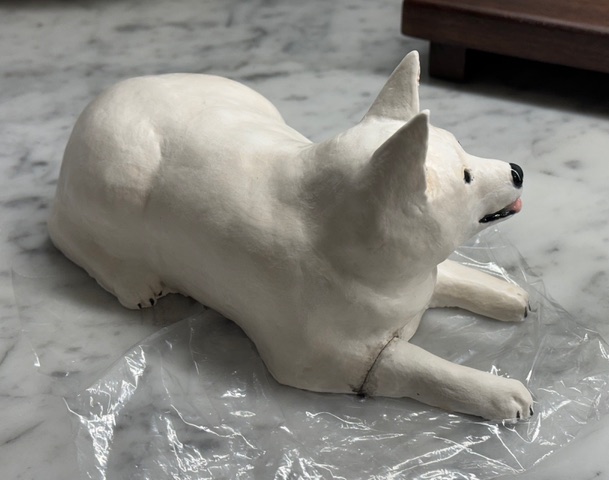
The sculpture was bisque fired to set the clay sculpture into a piece of hard brick. Handling the delicate piece broke off the cantilevered right leg. But Dee told me later that Sky the dog actually had an injury to its right front leg. So the sculpture inadvertently captured that injury. The sculpture mimics the real dog.

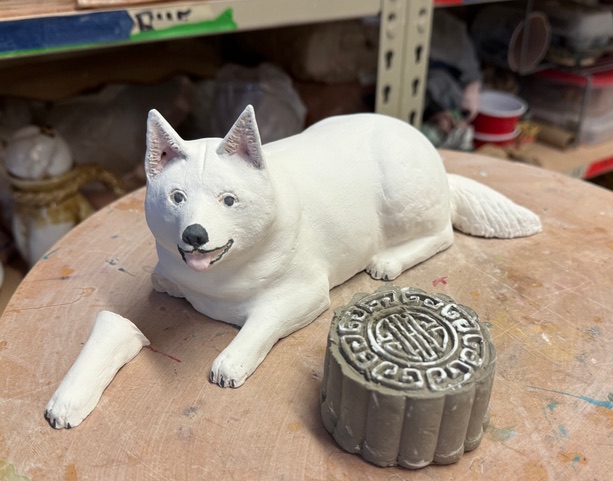
I painted the sculpture with underglazes. Rushing ahead, I mistakenly painted Sky’s upper lip with a line of black. The black upper lip looked odd. I had to wash off the black line and repainted the face.

I put the sculpture into the kiln for the second firing, called glaze firing. I had my fingers crossed.

After the sculpture emerged from the glaze firing, I epoxied Sky’s right front leg. Then I painted with white paint to hide the fault line.

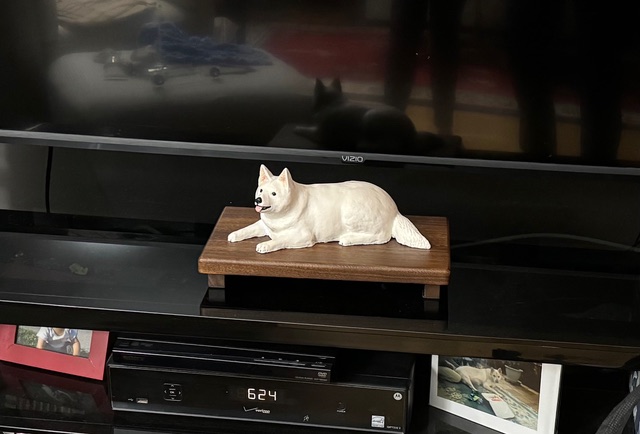
Dee was ecstatic when I presented the sculpture to her. She placed it in front of the TV facing her favorite chair.

Now Sky is always facing Dee, watching his good friend and keeping her company.

*****************************************
Note: If you enjoy reading this blog, feel free to forward it to your friends. But please do not modify this blog in any manner.